Cedar rewards a careful finisher and punishes a hasty one. It is soft, light and unusually absorbent, and the same extractives that give it its scent and its resistance to rot can also work their way through a coating, leaving blotches, weeping knots and a finish that lifts within a season. Most of the trouble people blame on the wood comes down to a handful of avoidable habits — and a little patience at the start saves an awful lot of sanding later.
Mistake 1: Treating Cedar Like Just Another Hardwood
Cedar is not oak, and it is not teak. Its earlywood and latewood differ hugely in density, its heartwood and sapwood drink finish at completely different rates, and a freshly planed board carries a compressed surface — often called mill glaze — that resists penetration rather than welcoming it. Sand that board to a polished 220 grit out of habit and you have closed the pores you needed open.
The fix is not complicated, but it is deliberate. Sand to around 120–150 grit before staining and stop there; finer grits belong between coats, not before the first one. Use light pressure, keep the sander moving, and vacuum the dust out of the grain rather than blowing it around the workshop. A quick test tells you whether the surface is ready: put a drop of water on it. If it soaks in and darkens the wood, you are good. If it beads and sits there, keep sanding.
Please also take the dust seriously. Cedar dust is a known sensitiser, and reactions often build up over repeated exposure rather than appearing the first time. Wear a decent mask and use extraction. If you notice persistent skin irritation or breathing problems after working with it, stop and speak to a GP.
Mistake 2: Staining Bare Cedar Without Taming the Blotching
Blotching is the most common complaint about cedar, and it is almost never the stain's fault. Softwoods absorb pigment unevenly because the wood itself is uneven: the porous earlywood grabs colour greedily while the denser bands barely take any. Add the difference between heartwood and sapwood — sometimes visible, sometimes not — and you get a patchy, muddy result that no amount of sanding will rescue.
What actually helps
- Condition first. A pre-stain wood conditioner, or a thinned coat of the finish itself, partially fills the thirstiest areas so the stain has less to grab at. Apply it evenly and stain within the window on the label — leave it too long and it starts behaving like a sealer.
- Pick a forgiving stain. Gel stains sit closer to the surface and give you far more control on soft, uneven timber than thin penetrating stains. Dye-based stains are more even still, though less forgiving of overlaps.
- Work in small sections. Apply, let it sit briefly, then wipe back with a clean cloth before moving on. Flooding a whole panel and returning to wipe it is how you get tide marks and dark edges.
- Test on the actual board. Cedar varies from board to board and often from one end of a board to the other. Keep an offcut from the same stock and treat it exactly as you plan to treat the finished piece.
If you are brushing on a stain and it starts to dry before you can wipe it, you are working too large an area or in too warm a spot. Slow down and split the job.
Mistake 3: Fighting Raised Grain After the Stain
Water-based stains and finishes swell the surface fibres of cedar, and the result is the fuzzy, slightly rough texture that shows up the moment the first coat dries. Sanding it back afterwards is the wrong order of operations — you will cut through the stain and create light patches that are impossible to blend.
Raise the grain before you colour anything. Wipe the bare wood with a damp cloth, let it dry completely, then sand lightly at around 320 grit with a block to keep the surface flat. Dust it off and repeat if the grain still lifts. Only then does stain or finish go on.
The same principle applies between coats. A light denib with 400–600 grit or a fine abrasive pad, followed by a wipe with a tack cloth, keeps the surface smooth without cutting into the film. Avoid steel wool on cedar if you are using water-based products; stray fragments rust and stain the wood.
Mistake 4: Building a Finish Cedar Won't Hold
Cedar moves with the seasons, and thick film-forming finishes — polyurethane, high-build varnish, epoxy — have very little tolerance for that movement. On a surface that swells and shrinks, a brittle film cracks along the grain, water gets underneath, and the finish lifts in sheets. The same happens when you layer products that were never designed to sit together: an oil underneath a water-based topcoat, a wax polish under anything, or a fresh coat applied over a surface that has not fully cured.
Stick to one system and read the recoat window on every tin. "Within two hours or after 72 hours" is a real instruction, not a suggestion; the in-between period is when the previous coat is too dry to bond and too soft to key. Test any combination on an offcut before committing it to a piece, and remember that silicone-based polishes and contaminated rags will ruin adhesion for anything you apply afterwards. Thin coats, more of them, always beat one thick one.
Mistake 5: Letting Cedar Weather Before It Is Protected
Untreated cedar does go a handsome silver-grey, and plenty of people want that look. The mistake is assuming the greying is harmless. Ultraviolet light breaks down lignin at the surface, rain erodes the softened fibres, and the timber ends up with a furrowed, driftwood texture long before it needed to. It also soaks up water, which is how you get black mould, iron staining from fixings and split end grain.
If you want to keep the colour, use an exterior finish with UV inhibitors and plan to recoat while the finish is still sound — not after it has started to fail, because by then you are sanding back rather than washing down. Coat every face of exterior cedar, including the back and the end grain, and treat cut ends as you go. If you want the weathered look, keep the surface clean with a suitable wood cleaner and accept that it will need attention every year or two.
A Sequence That Works
- Sand to 120–150 grit, clear the dust, and check absorption with a drop of water.
- Raise the grain with a damp cloth, let it dry, and sand lightly at 320.
- Seal knots and pitch pockets with a coat or two of shellac.
- Condition the wood, then stain in small sections and wipe back as you go.
- Build thin coats of a single compatible system, denibbing lightly between each one.
- For exterior work, coat all faces and end grain, and diarise the first recoat before the finish starts to look tired.
None of this is difficult; it is just a different order of thinking. Cedar asks you to slow down at the preparation stage, choose one finish and stay loyal to it, and accept that thin layers do the job better than thick ones. Get those three habits right and the wood does the rest of the work for you.
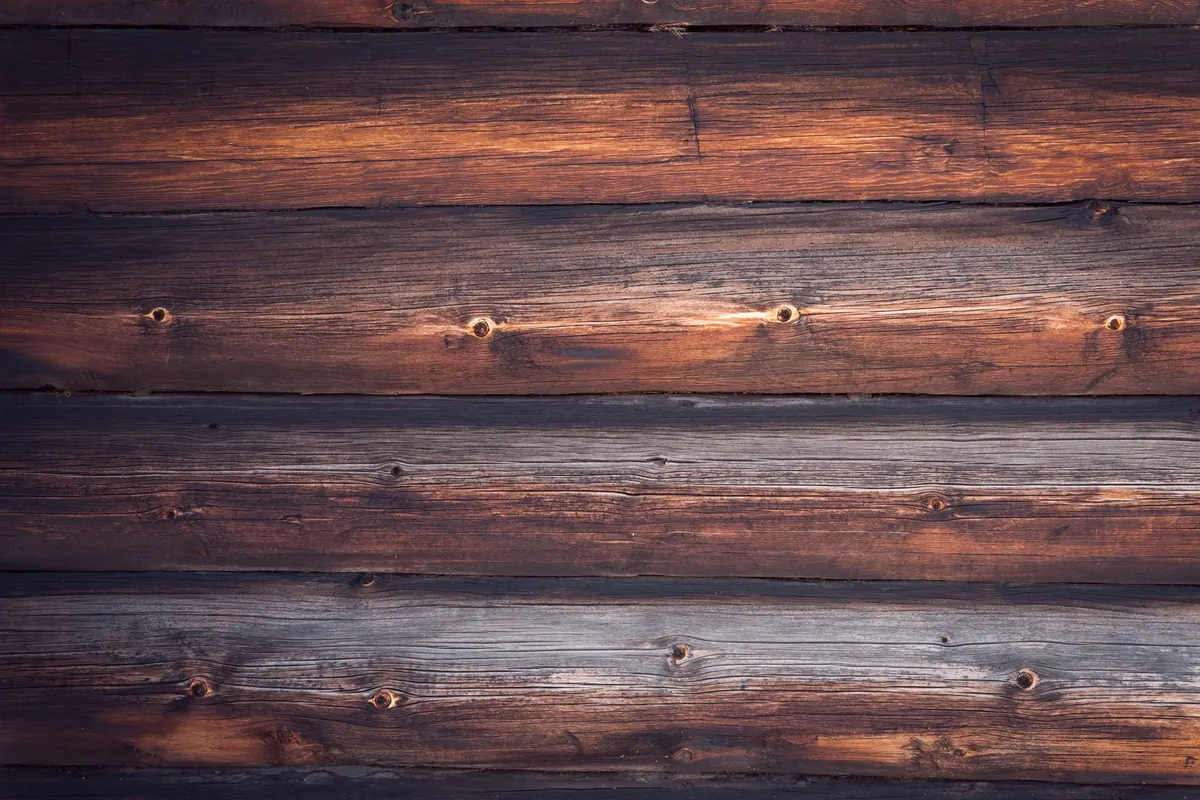
Photo: Dmitry Demidov / Pexels