Most garden planters betray how they were made. A row of screw heads down each corner, a butt joint that opens up after a hard winter, and by the second summer the whole thing is rocking on a swollen base. This one keeps its secrets. The slats wrap around every corner on a mitre, and everything holding them together sits inside the box, out of sight and out of the weather. It takes an afternoon, a few cedar boards and a saw you trust.
The design is straightforward: five courses of slats, four mitred corners, and a batten down each internal corner doing the actual work. At 550mm square and 390mm tall, it holds roughly 100 litres of compost — enough for a serious herb collection or a small shrub with room around it.
Getting the size and spacing right
Start with the numbers, because they decide everything that follows. The outside of the box measures 550mm square. The height comes from five courses of 70mm slats with 10mm gaps between them, which gives 390mm of planting depth, plus 30mm of leg clearance underneath.
That depth matters more than the width. Parsley, chives, basil and coriander will manage in 200mm of soil, but rosemary, thyme, sage and bay want 300mm or more, and their roots resent being cooked in a shallow box through July. If you would rather plant a shrub, something like a dwarf skimmia or a compact hebe, this volume suits one plant with herbs tucked around the edge.
Think about reach, too. A 550mm square is about as wide as you want a densely planted planter, because you need to get a hand into the middle without clambering onto anything.
Slat spacing is the other decision worth making properly. Go wider than 15mm and compost works its way out through the sides after heavy rain. Go narrower and the box loses the slatted look that made it worth building this way in the first place. You need twenty slats in total, 70mm wide and 20mm thick, planed all round. Clean up the cut edges with a sanding block to break the sharp arris before assembly — it makes handling far kinder.
Choosing and preparing the cedar
Cedar earns its place outdoors. It is light for its strength, stays reasonably stable as the seasons change, and takes an exterior finish well. Look for boards with straight grain and sound knots; reject anything with loose or missing knots along a slat edge, since those will show. Buy one board more than you think you need and set the timber aside in a dry workshop for a few days before cutting, particularly if it has been stacked outside.
Cutting mitres that close properly
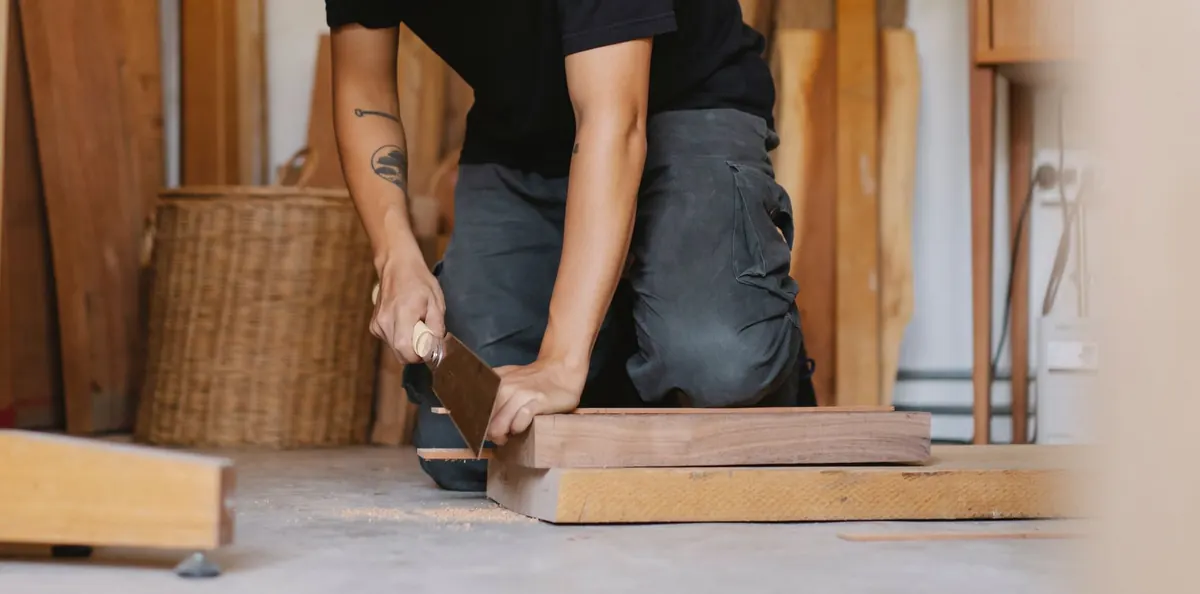
Set the saw to 45 degrees and test it on a scrap of the same thickness. Fold the two test cuts together and hold them up to a window; any sliver of daylight means you need to nudge the bevel before you commit to the real stock.
Work in batches. Cut one end of every slat first, then measure 550mm to the long point and cut the other end. The long point sits on the outside face, so long point to long point is your 550mm. Consistency matters far more than absolute accuracy here: if every piece is cut identically, the corners will close, even if the saw is a whisker off. A stop block on the bench makes this quick, and numbering each course as you cut it saves a lot of head-scratching later.
The hidden structure: corner battens
Nothing about this build is exotic. Four battens do all the load-bearing work, and because they sit inside the box, you never see them.
- Corner battens: four lengths of 45 x 45mm cedar, cut to 420mm — 390mm of box plus 30mm of leg below the lowest slat.
- Screws: stainless steel, 50mm, counterbored slightly so heads sit flush. Cedar and plain steel are not good companions over time.
- Glue: an exterior-grade wood glue, D3 or D4 rated.
- Spacers: a few 10mm offcuts to keep the gaps even as you build upwards.
Stand each batten square into its corner so its two outer faces lie flat against the inside of the slats. Screws then pass through the slat and into the batten, heads on the inside where nobody looks. That is the whole trick, and it is a good deal stronger than a mitre glued on its own.
Assembling the box, course by course
- Dry-fit one course of four slats on a flat surface. Close the mitres and check the diagonals are equal — that tells you the band is square.
- Glue the mitre faces and tape across the outside of each corner to hold them while you work.
- Slide a batten into each corner. Glue, then screw through the slats into the battens — two screws per slat per corner, pilot-drilled first.
- Drop in 10mm spacers and sit the next course on top. Check the diagonals again as you go; small errors multiply over five courses.
- Repeat to the top, then stand back and sight along each side. If a slat sits proud, plane it flush once the glue has cured.
Base, drainage and lining
Cut three or four base boards from 20mm cedar to fit inside the frame, leaving 6–8mm gaps between them, and screw them to cleats fixed to the lowest slat and to the corner battens. Those 30mm legs keep the base off the ground, which is what stops the bottom board rotting first.
Line the sides with a woven landscape fabric or geotextile, stapled near the top edge. It holds compost in and lets water straight through. A solid plastic liner will do the opposite unless you drill it and add a gravel layer, so avoid it here. A couple of centimetres of coarse grit in the bottom helps, and the open base means herbs that hate wet feet have somewhere for the water to go.
Finishing and keeping it looking well
Left bare, cedar silvers to a soft grey, which many people prefer and which requires nothing from you at all. If you want to hold the warm colour, apply a UV-protective exterior oil in thin coats and follow the instructions on the tin. Re-oil every year or two, while the surface still drinks it in. Steer clear of film-forming varnish outdoors — it crazes, flakes and turns into a stripping job.
Each spring, check that the screws are still snug, top-dress the compost and trim anything that has outgrown its space. If the planter sits on a deck or a paved patio, slip a felt pad or a scrap batten under each leg so it does not leave a mark. Build it once with the joints hidden properly and you will be planting in it, not repairing it, for years.
Photo: Murat Halıcı / Pexels